Congratulations! Seems you have successfully installed Android Studio on your PC. If not, go check out: how to install Android Studio from our previous posts. Now, it’s time to create your first android studio project.
Here is a step by step procedure to create an new android studio project:
Step 1:
Start Android Studio.
Connect to the Internet.
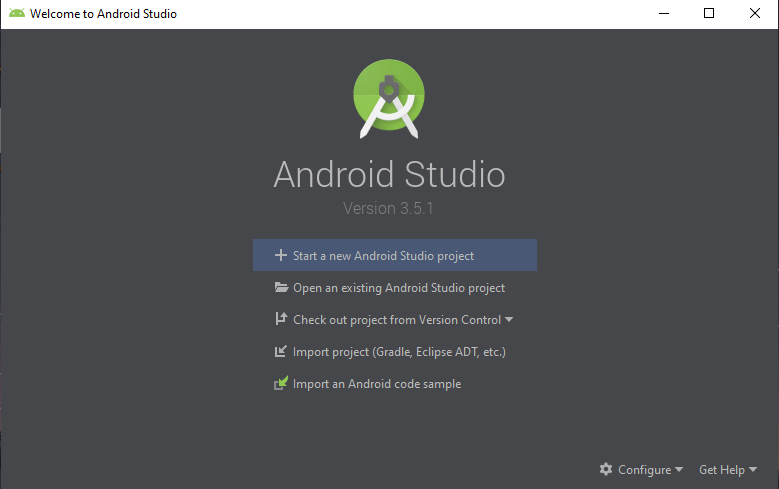
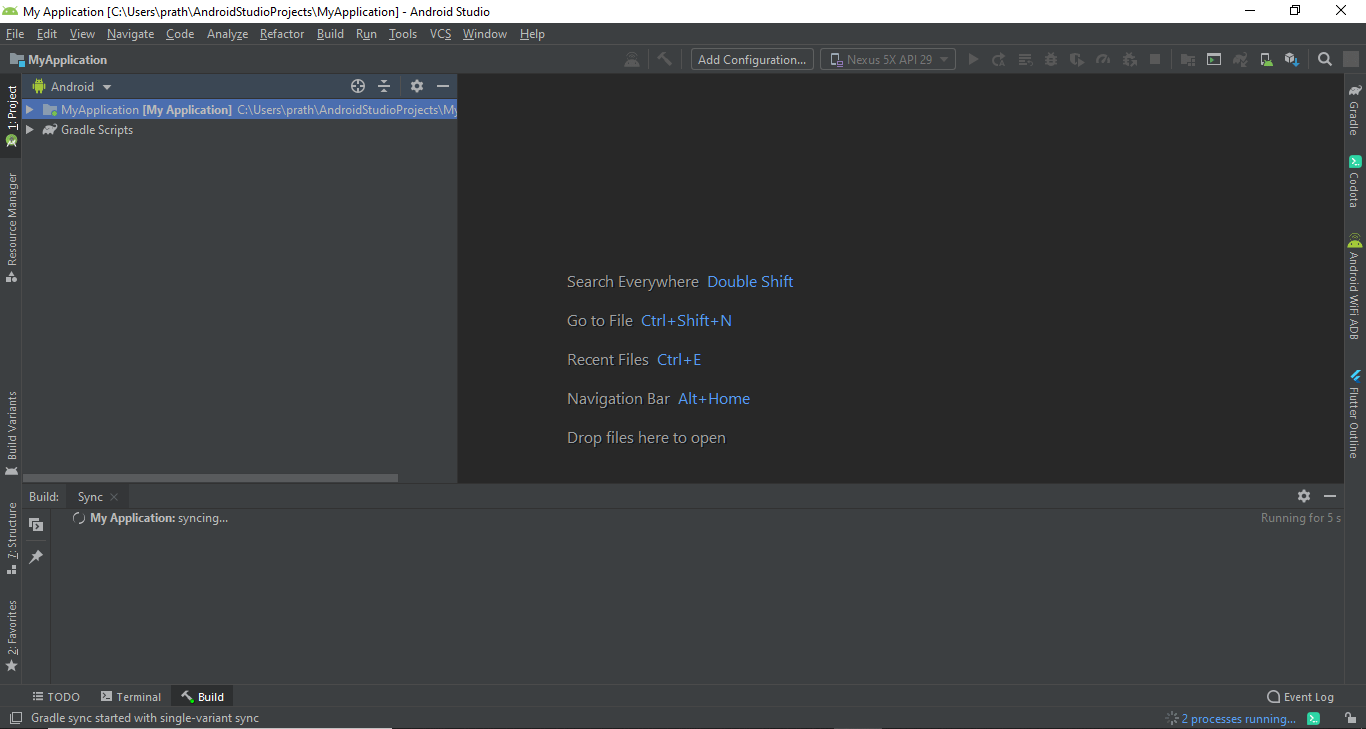
If you are a newbie and about to create your first ever android studio project, then a window like the on below will appear.
OR
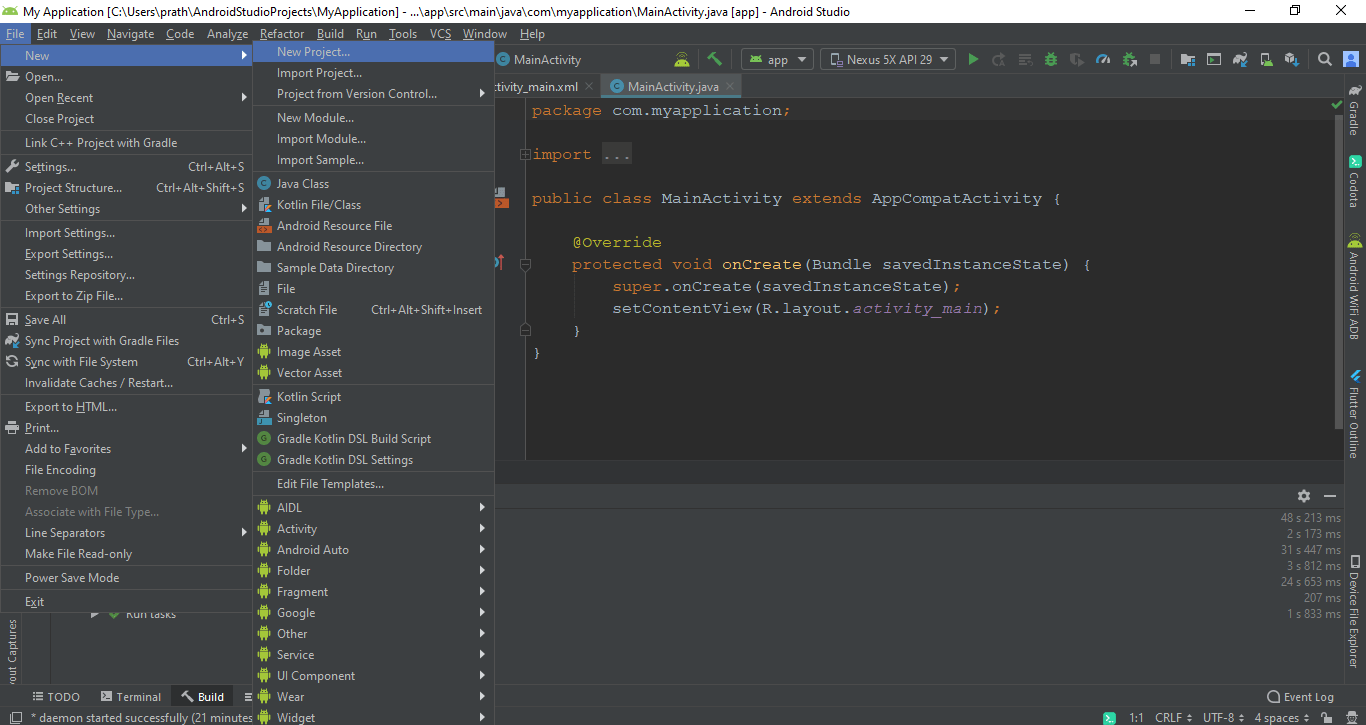
If you have already created your first projects, or may be more, android studio will automatically open the project file you were previously working on .
From here, click on File > New > New Project.
Step 2:
For Newbies:
Click on Start a New Android Studio Project. You will see a dialogue box which will enable you to choose the type of project you wish to create.
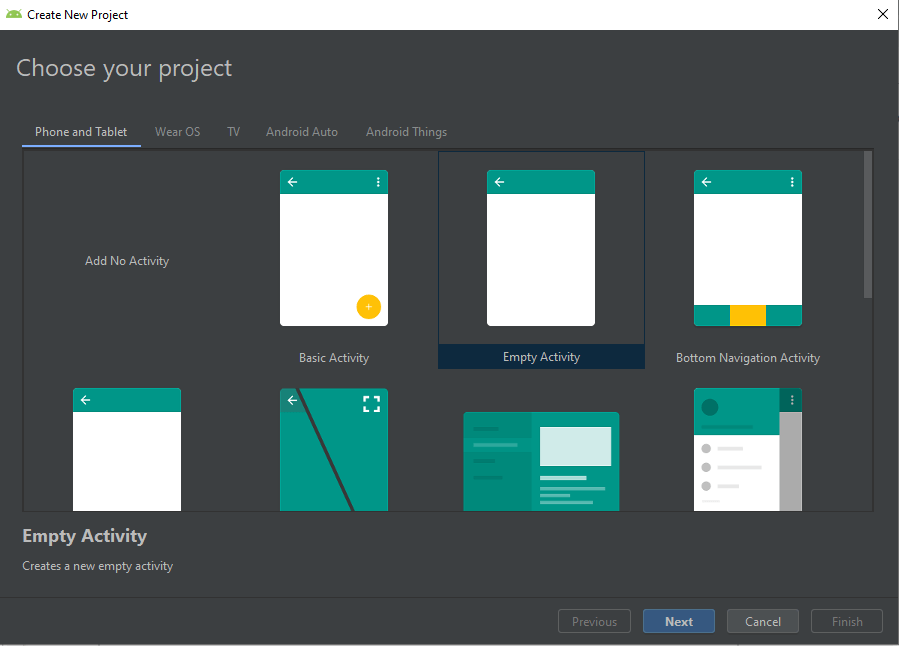
Android Studio allows you to create projects for Phones and Tablets, Wear OS (i.e. Android Watches.), TV,Android Auto, and Android Things. For now, we will focus on creating a project for Phones and Tablets only, as our primary focus is to create mobile applications.
In Phones and Tablets category, you can see various options like Basic Activity, EmptyActivity, Bottom Navigation Activity, Fullscreen Activity, Navigational Drawer Activity, and many more. Except Empty Activity, rest activities are for slightly experienced developers so as to save their time and efforts on rewriting a piece of code, like for a navigational drawer, again and again. For newbies, we will just select an Empty Activity as it comes with no extra, just the basic structure of an activity which we need to understand. Although you can try the others if you want.
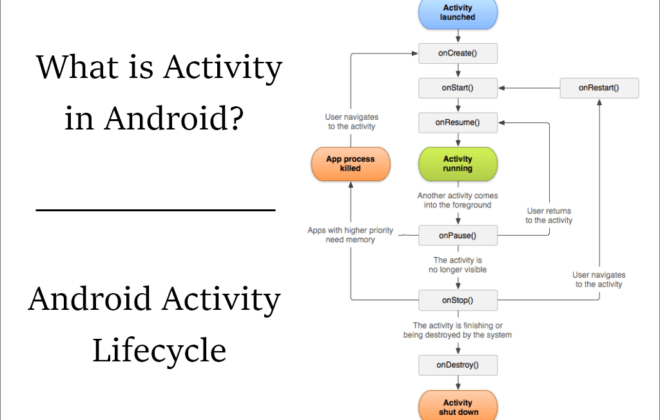
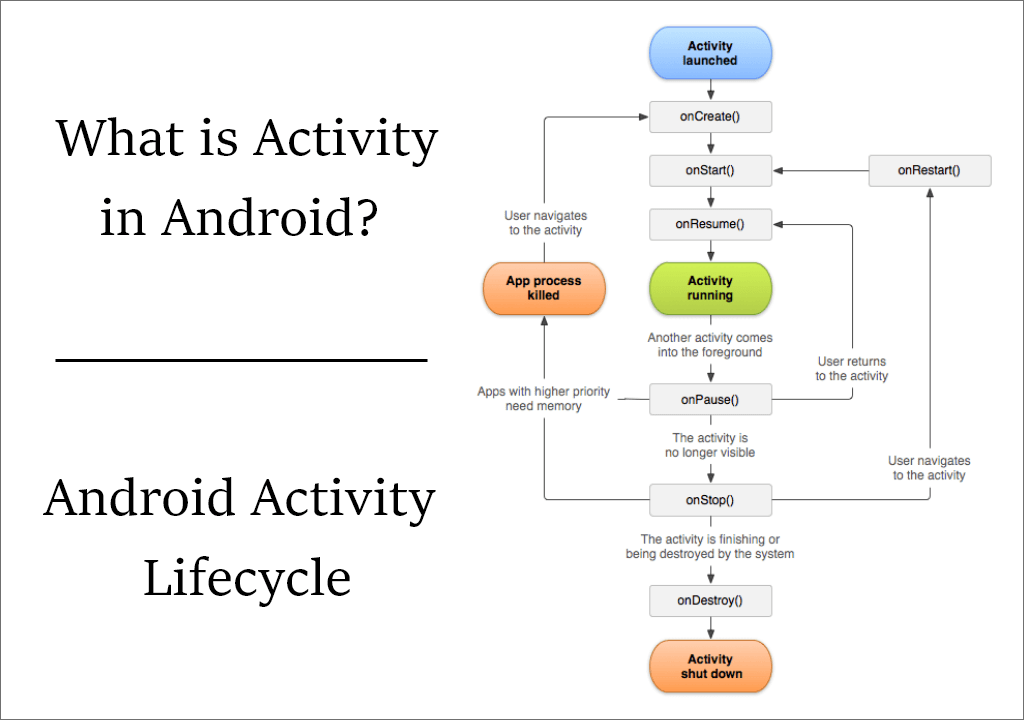
For those who are confused about what an Activity is, go check out
Now, coming back to creating our first project, select the Empty Activity and click on Next.
For Others:
If you are already familiar with what activities are and what to experiment with other activities you can go ahead and select pretty much any activity and try out. I would suggest you to go with the empty activity though as you will not give you any extra pre-written code. So you will have to write everything on your own. This will help you practice more and get used to the IDE. All you have to do is select any activity you want and then click on Next.
Step 3:
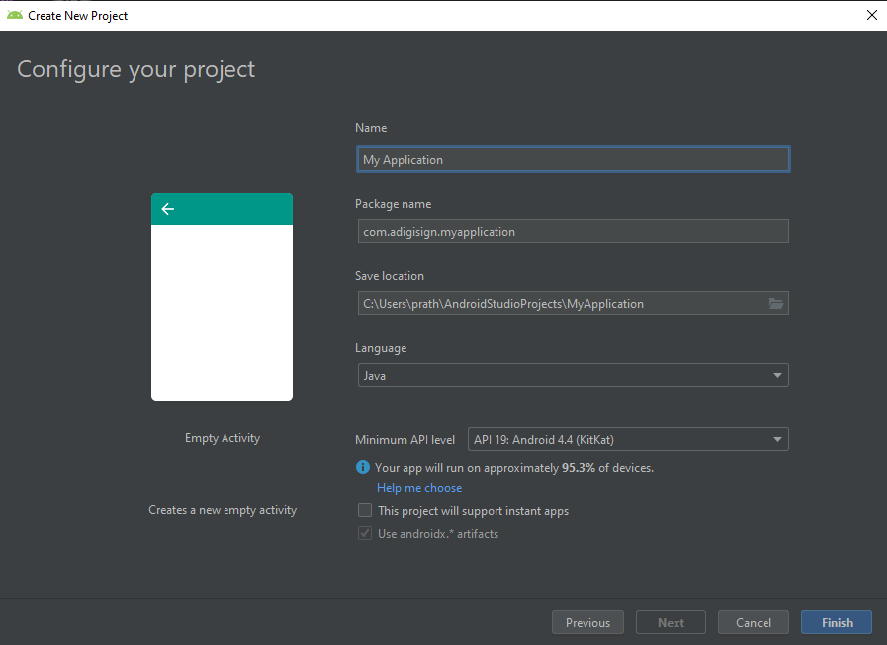
Now, Android Studio will show you the dialogue box to configure your project, which is to set a Name, Package Name, Language, and Minimum API level for you application/project. Name – It’s literally the name of your application. The one which you see when you install any application. Package Name – Every Android app has a unique application ID that looks like a Java package name, such as com.example.myapp This ID uniquely identifies your app on the device and in Google Play Store. Every app you upload must have a unique Package Name. Save location – It’s the location where you want you project file to be created and stored. By default it is C:\Users\[user_name]\AndroidStudioProjects\[project_name] Language – Android applications are developed using two languages – one for the designing part and other for the logical and functional part. XML is the language used for designing where as for logical part – Java and Kotlin any of the two languages can be used. Here you have to select which one are you going to use. For starters, select Java as we will be learning to code in java in the upcoming posts. Minimum API level – It’s the lowest version of android your application will run on. To make it simpler, suppose you have selected API 19 Android 4.4 (KitKat) then your project will run on devices having any versions of android from 4.4 (KitKat) to the latest version.The blue i also tells you what percentage of devices will your app support. Once you are done setting every thing click on Finish.
Step 4:
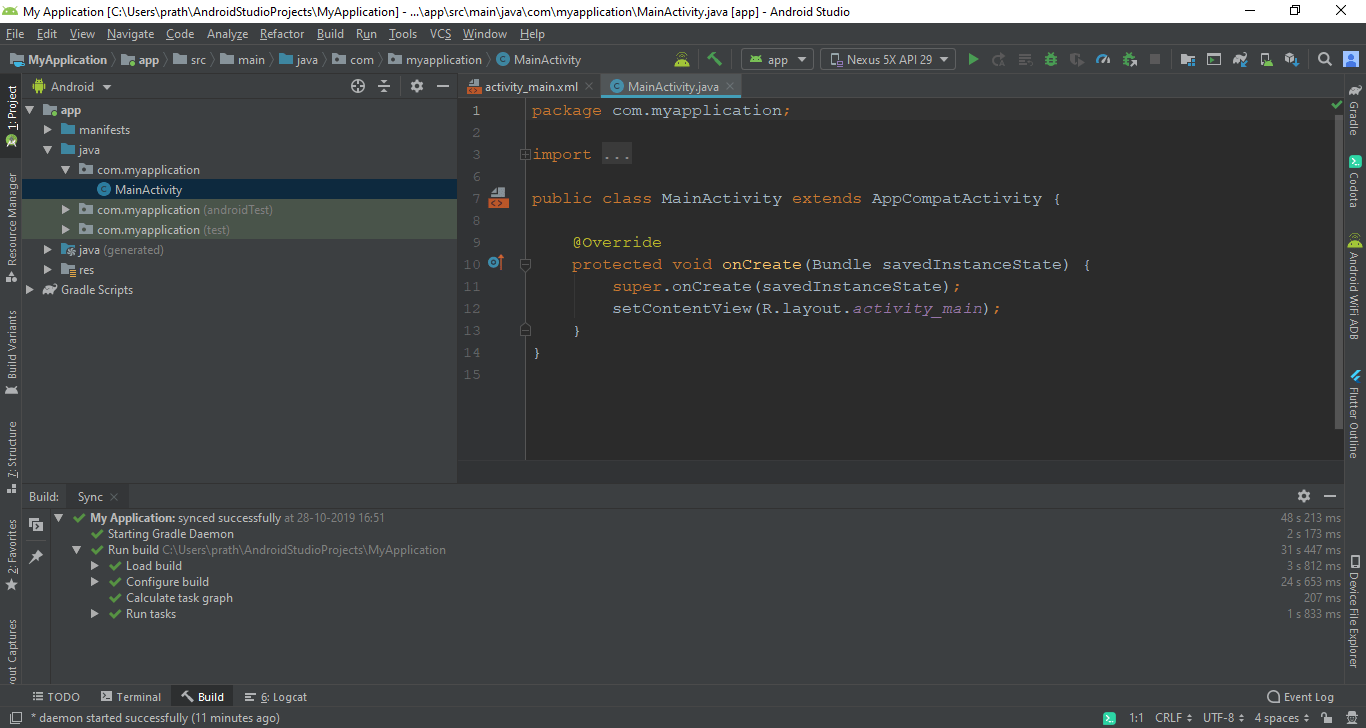
Now all you have to do is wait. In a few moments a full size window like the one shown below will appear. Don’t forget to stay connected to the internet as your project is being created as android need to fetch some files from the internet and the gradle needs to be synced. If not connected, it might show some errors. In that case, just connect to the internet and click Try Again. (“Try Again” will appear in a blue bar in case or error).
It might take some time depending on your internet speed. But once completed, the MainActivity file will automatically show up and you can also see some code already written. This is the code needed for an Activity to exist.
And that’s it!
We have successfully created our first Android Studio project. You are now all set to code your app and build your master piece.
If you are a newbie, a complete beginner, then you should check out our blogs. We have a series of posts that will teach you to build an application from scratch. You do not need any prior knowledge about android or programming itself. From start to deployment and monetizing you app we got it all covered. Just follow the series and you will master the skill of Android Application Development. And lastly, do not forget to subscribe to our newsletter to get future updates first.


